So you want to write a trip blog? Great! It is always a good way to capture some of the high points of the trip and keep friends and family informed about what is happening on the road.
Preparing to Blog
If you are interested in blogging a trip there are a couple of preliminary things that you should do. First, contact your trip leader to see if someone else has already signed up to be the trip blogger. If someone else is already trip blogger do not despair. Most bloggers are more than happy to accept a few guest posts from riders wanting to express their literary talent. Only one trip blog is supported, but people are encouraged to work together if multiple people want to be involved. Second, if you are going to be the trip blogger you need to contact the webmaster and request that he set you up as a trip blogger.
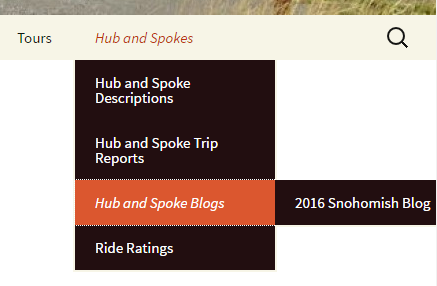
There are three things that the webmaster will do to enable you to blog your trip. First, he will establish a location for the blog within the website menu structure. An entry for your trip will be added to the Tour Blogs list or the Hub and Spoke Blogs list. In addition, while the blog is active it will have it’s own menu item like the Snohomish Trip Blog shown here. The second thing that the webmaster will need to do is authorize you to post blog entries on the site. This will be a temporary authorization that will expire after you have had time to complete your blog. Finally, the webmaster will provide you with the trip tag that you will need to use to identify your trip in all of your posts.
A Simple Blog Post
So now that the blog has been setup, you are authorized to post and you have your tag, let’s talk about how to add your first post. 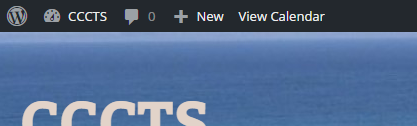 If you are not already logged into the web site, login now. Once you are logged in you should see a black bar across the top of the screen. On the left-hand end of that bar you will see a picture of a speedometer followed by “CCCTS”. This is the dashboard icon. When you click on it you will see the administrative interface for the site similar to the screen shot below.
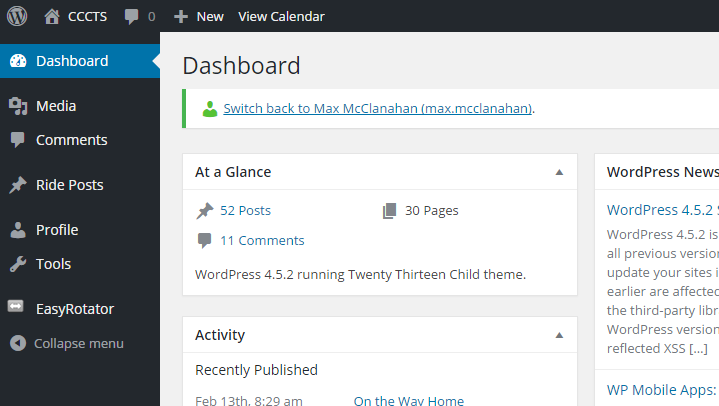
There are a couple of things that I would like to point out on this screen shot. First, in the upper left hand corner where we previously saw the dashboard icon, we now see a picture of a house followed by “CCCTS”. Clicking on this icon will take you back to the user view of the website. We click on the “CCCTS” to toggle back and forth between the administrative interface and the user interface. The second thing that we need to look at is the black menu bar along the left-hand side of the screen. This bar will contain menu items for all the operations that you are authorized to perform as a trip blogger. Of particular interest to us is the Ride Posts item.
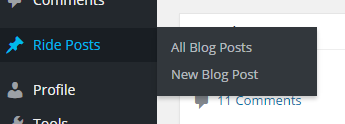
Hover on the Ride Posts item to reveal two sub-menu items: All Blog Posts and New Blog Post. Right now we want to select New Blog Post to create our first post. Later on when we want to edit one of our posts we can use the All Blog Posts item to do that. Click on New Blog Post now and you should see a screen similar to the one below.
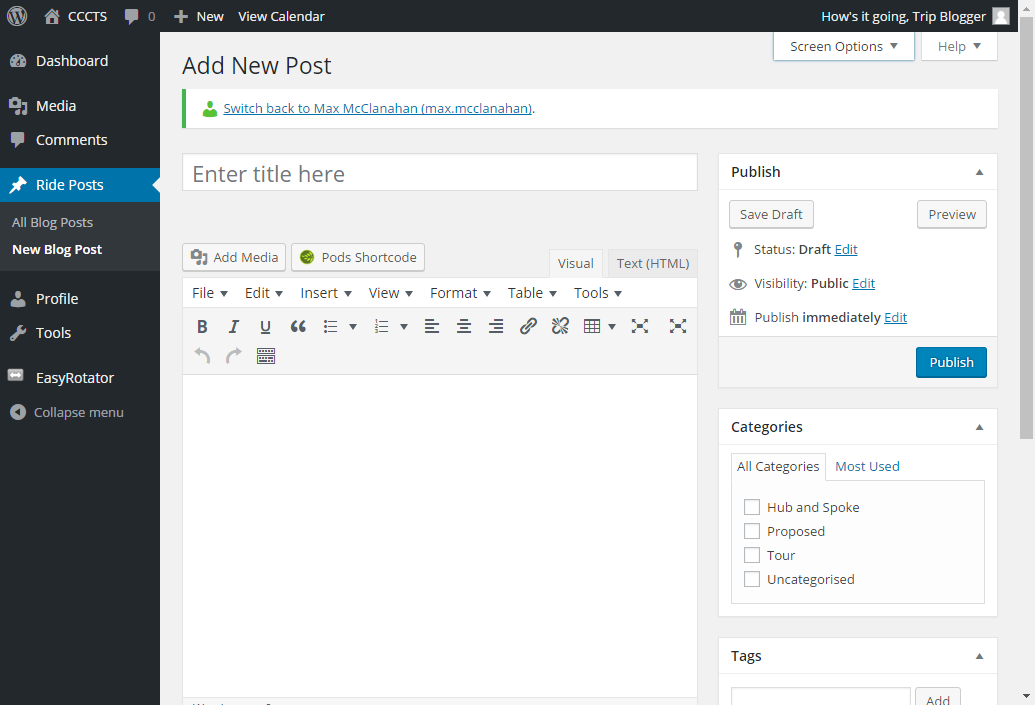
The first time you create a post you may see a slightly different screen. In that case you want to adjust your screen settings so that your screen shows all the important things. To do that look in the upper right-hand corner just below the black bar. You should see two tabs Help and Screen Options. Click on the Screen Options tab then adjust your settings so they match the settings in the screenshot below.

When you are done click on the Screen Options tab again and begin exploring the blog screen. There are five different components that every blog post must have.
- Title. Ok this one should be obvious. Keep it simple. There is no need to get descriptive. One of our other components – the excerpt – is used for that.
- Category. This is located in a box along the right-hand side of the screen. Here you want to check either Hub and Spoke or Tour, depending on the type of your trip. Only one item should be checked. Setting the category controls where the post will show up on the site.
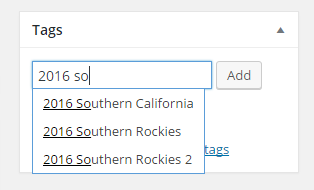
 Tags. Below the Categories box you will find a Tags box. This is where you want to enter the tag that the webmaster gave you. It is essentially the name of the trip. But you can’t be creative here – it needs to match the name for this trip used elsewhere on the site. WordPress makes this easy for you by providing auto-complete. Type in the first few characters of the tag for your trip and WordPress will display a list of tags that complete your entry. In this example my tag is “2016 Southern Rockies”, so I enter the characters “2016 so”. Now I will select the “2016 Southern Rockies” tag and then select
 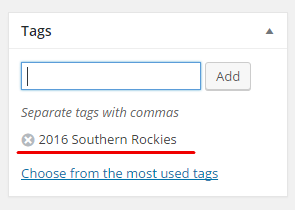 the Add button. If everything is done correctly then your Tags box should look similar to this screenshot on the left. In our example we have added the tag “2016 Southern Rockies” as indicated by the red underline. The tag is quite important. It controls which blog your post will show up in. If it is incorrect than your post could show up in the wrong blog or no blog at all. If WordPress auto-complete does not list the tag for your ride you need to ask for help. Do not make up your own tag.
- Excerpt. The Excerpt box is below the main text body body. This is where you will want to enter a brief summary of your post. One or two sentences is best. As noted on the form, excerpts are optional. If you don’t enter anything into the excerpt box WordPress will generate an excerpt for you by simply grabbing the first 55 characters of the post body. You are going to get a much better summary if you write one yourself rather than just using what happens to be in the first 55 characters of your post.
- Post Body. Of course the post body is what it is all about. Indeed it is so important that it is the only component that is not in a labeled box. To enter your post body you will use the WYSIWYG editor box. WYSIWYG (What You See Is What You Get) is the generic term for editors like Microsoft Word that can create formatted text. You probably noticed that for the excerpt only simple text could be entered. For the post body there is access to a very complete set of formatting features such as bold, italics, underline, blockquote, bulleted list, numbered list, etc. Hopefully you will find the tool bar provided by the editor familiar and intuitive.

Now that we know all of the components let’s write a simple post and see what it looks like. For the title enter “The Tour Begins”. Set category to “Tour”. The tag is “2016 Southern Rockies” . For the excerpt write the following:
This is our excerpt. Here we write a brief summary of the post.
Then enter the following for the body:
Finally the tour begins.  We've all been looking forward to this for weeks now.  We have 22 riders gathered here at the Fort Steele Campground near Cranbrook.

Most of us had a long drive today to get here.  We pitched our tents as soon as we got in and all pitched in to help the cook team for our first dinner.
Publishing your Work
 Now let’s take a look at what you’ve got. To do that we turn our attention to one more component – the Publish box. When you initially create a post it has a status of Draft and is not visible to anyone except the author. Select the Save Draft button now to save your work in case something should go wrong. Next, what you want to do is select the Preview button. Although we are using a WYSIWYG what you see in the editor is not really what the final web page will look like. To see that use Preview. Preview will open another tab on your browser and will display exactly what you post looks like.
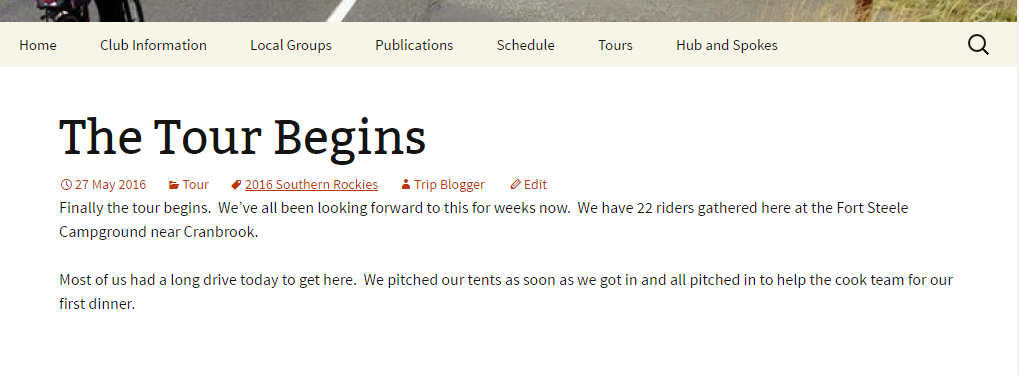
You have your first post! If you see something that you want to change, or if you just want to continue adding to your post, just go back to your previous browser tab and continue editing. Let’s assume that you are happy with the post and want to show it to the rest of the world. You are ready to Publish. Select the Publish button in the publish box. If this is successful you should see a message at the top of you page – above the title box – telling you that the post has been published. If you follow the view post link you should see exactly what you saw with the preview screen. The difference is that it is now visible to any website visitor.
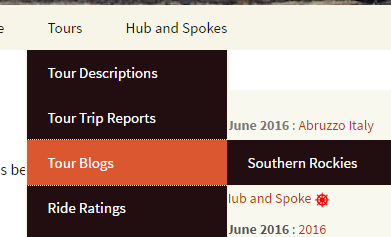 You are not done yet. You’ve checked to see that your post looks ok, but you haven’t checked to see if anyone can find it. To check that use the menus that any site visitor would use. Since this is a tour blog start with the Tours menu. Under that there is a Tour Blogs item and under that the Southern Rockies blog. If you select Southern Rockies you might expect to see your blog post. What you will see is the Blog.
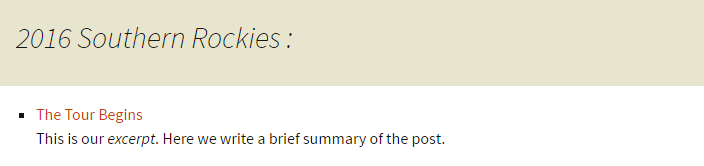
The Blog is a list of all the blog posts. In your case you only have a single post so it is pretty simple. For each post in the blog you will see it’s title and it’s excerpt. Click on the title and now you will see your post.
What if your post doesn’t show up in the blog like it should? Usually it is a simple problem with either the category or the tag. Check that those are both correct before asking for help. But if you do need help just contact the webmaster.
Adding Pictures to your Post
Once you are comfortable writing simple text posts you may want to include a photo in your post. There are a number of ways to do this in WordPress, but the most straightforward is just to drag and drop.
First, place your cursor in the location where you want the image to be located. Then grab the image that you want to insert and drag it to your editor screen. You will soon see a drag target which will quickly be replaced by a screen similar to the following.
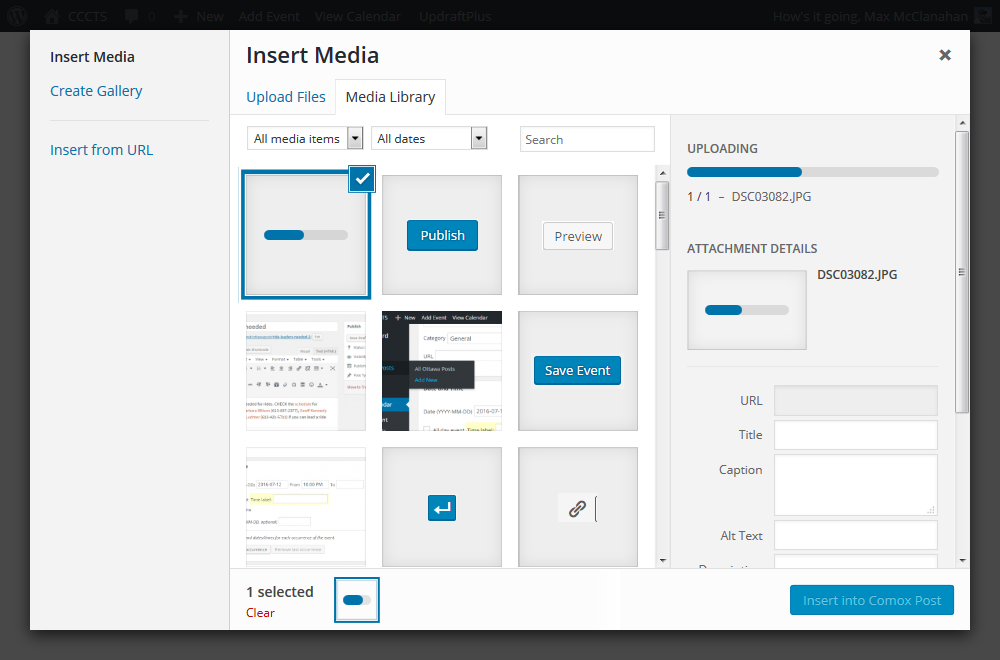
This is a the upload screen. It will be displayed while the image is being uploaded. Notice the progress bar on the right hand side. When the upload is complete it will be replace by a screen similar to the following.
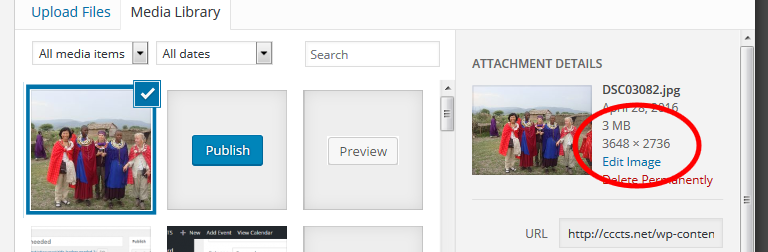
On the left hand side you see a thumbnail of the image that has been uploaded. On the right hand side you see information about the image. In particular notice that this image is 3 MB and the dimensions are much larger than can be displayed in a web browser. This image is suitable for printing but not for display on a web site. If possible try to scale your images before uploading – they will upload a lot faster. If that is not possible you can scale them after they have been uploaded. To do that click on the “Edit Image” link circled in red above. If your image is under say 500 kB then you can skip the scaling and go directly to inserting your image into your post.
In the upper right of the Edit Image screen you will find the scale control. (You may need to scroll the right hand side to see it).
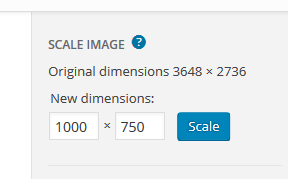
You can see that the original image was 3648 x 2736. We are going to scale that down to a more reasonable size by entering “1000” into the first box (the second box will be updated automatically) and then selecting the Scale button. The scaling may take a few seconds. In this case, when the scaling is done the image size is now down to 124 kB – less than 4% of the original size. The image is now ready. Select the Cancel button underneath the image on the left to leave the Edit Image screen and go back to the Insert Media Screen. Insert your image into your post by selecting the Insert into XXX Post button at the bottom right of that screen.
That is it. Click on the Preview Changes to view your post.

Allowing Comments
 By default comments are not enabled for posts on this site. For many kind of posts this makes sense. However, if you want to allow comments on your blog you can do that. Comments are controlled by the Discussion box. To allow comments simply click on the “Allow comments” check-box. Currently comments are moderated. That means a comment does not appear for public viewing until the administrator has determined that it is not spam. Note that comments are allowed per post. Each post that you want to allow comments on must be separately enabled.
Happy Blogging.