At the conclusion of every ride the Tours Director or Hub & Spoke Director needs to collect the ride waivers and store them in case they are ever needed. Only the ride directors have authority to do this archiving. Because these are legal documents it is best to restrict the number of people who can make changes.
There are 4 steps to archiving the ride waivers for a ride.
- Create a single PDF file: If you receive a hard copy of the waivers then scan them into a single PDF file. If the ride leader scans them in you may receive one or more image file or one or more PDF files. If you receive image file then simply create a PDF file containing those images. If you receive multiple PDF files you will need to merge them into a single file. There are multiple free tools on the web that will allow you to do that. Google “Merge PDF” to find one you like.
- Store the PDF file in our site media library:

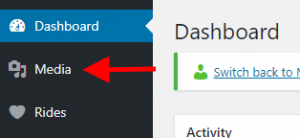
At the top level of your dashboard click on the Media link to open the Media Library. Drag-and-drop your PDF file to insert it into the library.
- Capture the location in the media library of the archived PDF file:

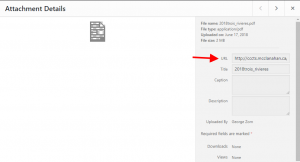
Once your PDF file has finished uploading to the library, click on the new item to bring up the Attachment Details screen. Select the entire contents of the URL field and copy it to the clipboard.
- Store the archive location for that ride:

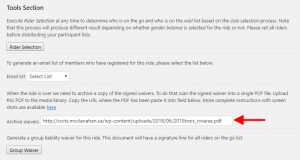
If you haven’t already done so, open your ride in the Ride Admin screen. Select the General tab and scroll down to the Tools Section. Paste the URL that you copied into the Archive Waivers field. Click anywhere outside that field to save the location to the database.
If you want to review or print the waiver once it has been saved to the database just copy the contents of this field and past it into the address bar of your browser.